How to grow seedlings
Once your seeds have germinated and begun to grow they will need to be pricked out. This is the term used for getting the seedlings on the right into the modular seed cells on the left.
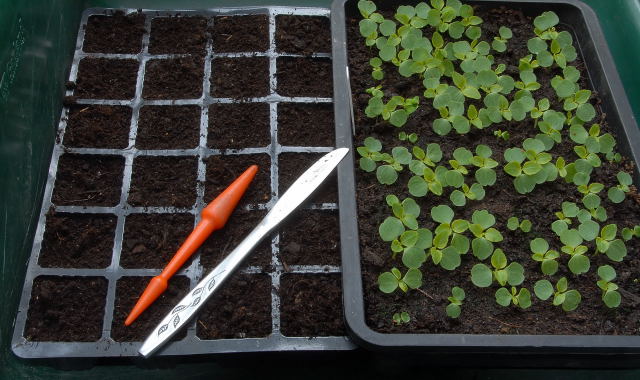
The reasons for pricking out are to eliminate competition between the various seedlings and to space the plants further apart from each other.
Plants crammed together for too long end up tall and drawn as they fight to get to the light. In the process of this struggle, they support themselves on one another. When it comes to prick them out, they have no stability and fall over.
First of all give the seed tray containing your seedlings a good soak. This will make the separation of the plants easier.
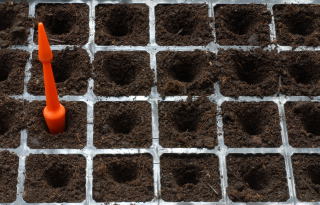
Next fill the modular seed tray with multi-purpose compost, sterilisation at this stage is unnecessary. Tap the cell tray on a surface to settle the compost. (Place the modular tray which is flexible, into a rigid gravel tray. Drop the tray onto a solid surface from the heigh about 2 inches). This will often reveal a few badly filled cells which can then be topped up.
.
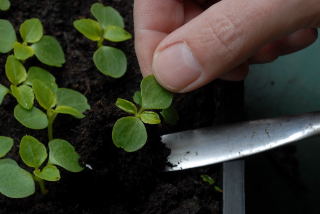
Starting in a corner, prize away your first seedling.
Hold the plant by one of the two lowest leaves and lever the plant out of the compost using a knife or similar tool.
.
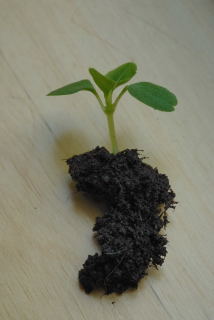
Try to remove as much of the root ball as possible. At this stage in their lives, every little bit helps.
.
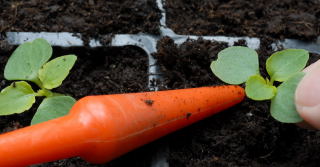
Place the seedling into its new home and firm the compost in around it.
.
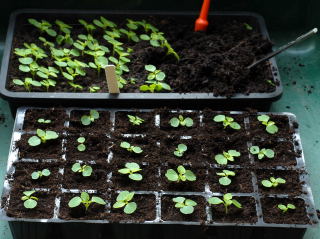
Keep going until you have pricked out all the plants or until you are bored rigid, whichever comes first.
Place the newly filled modular tray inside a gravel tray. Water the plants by pouring water into the gravel tray to allow the water to be soaked up from below.
.
The process is similar when pricking out plants grown in pots.
For this purpose you can use peat-free multi-purpose if you wish.
.
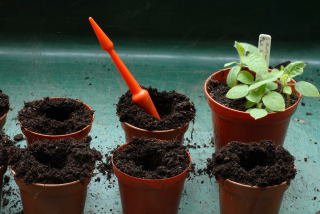
In this instance these Solanum quitoense seedlings need to end up in these flower pots.
Fill the pots in advance and drill out a deep hole with the dibber.
.
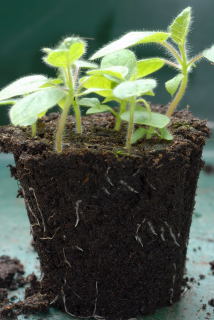
Carefully remove the plants from their pot.
.
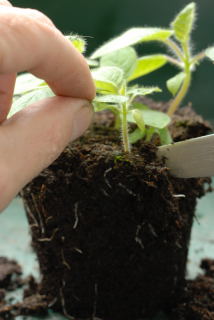
Whilst holding a leaf to support the plant, gently prise the seedling from the compost using a knife. Start with the plant nearest the edge and then the next nearest and so on.
.
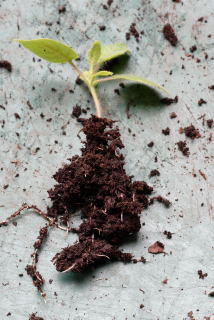
Once again try to remove as much of the original roots as possible.
.
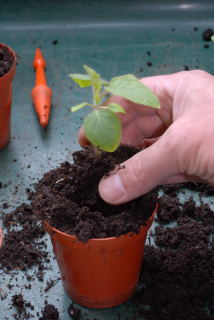
Pop the plant in its new pot and firm the compost in. The pots can be watered in from below by placing the pots in gravel trays.
.
Fast growing plants may need further potting on before being released into the garden. Slower plants may be happy to remain in their pots. If the plants are not intended to be planted out this season they should be potted on regularly to ensure maximum growth potential.
For full details see Repotting made easy.
.

