Spider plants - Chlorophytum comosum
Spider plants are very useful for covering up those akward bald spots in the tropical border. They are relatively inexpensive, easy to propagate, tolerant of sun or shade, drought tolerant and even relatively frost hardy! What more can a person want? They are of course also excellent candidates for hanging baskets.
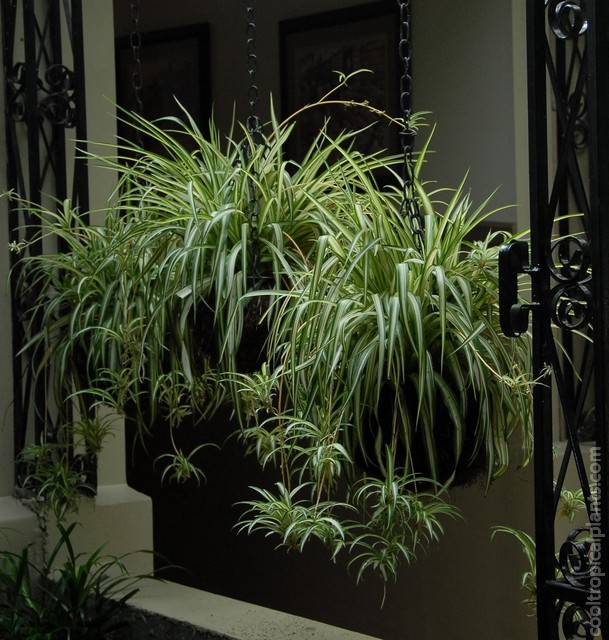
Spider plants are readily available in most garden centres that have a houseplant section. They are also commonly found on the window sills of elderly relatives who may allow you to snip off a few plantlets should you disguise your visit as an act of altruism.
Propagating Spider Plants
Regardless of how you got hold of your plant(s) the next step is to increase the amount of plants you have. As with most elements of the temperate tropical garden, more is better.
This process can be done at anytime of year with perhaps the exception of the depths of winter. However as you want to have your plants ready for spring planting, the best time to do this is in the Autumn. If you begin the process in spring or summer it is better to keep them until the following spring before planting out. If this is the case the plantlets will soon be producing plantlets of thier own for you to snip off and boost numbers.
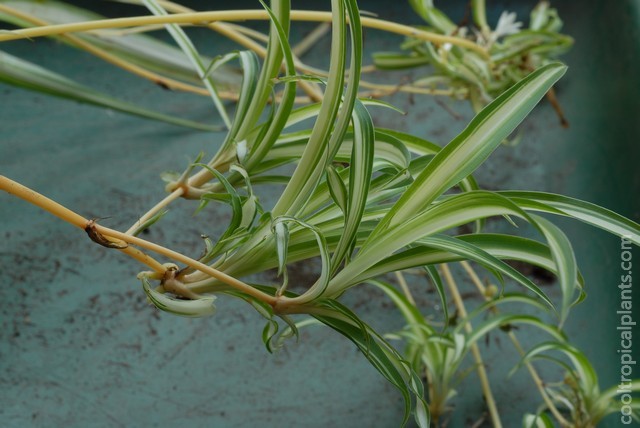
- Begin by removing the plantlets from the mother plant. A pair of kitchen scissors or secateurs will do the job.
- You will find that some of the plantlets already have begun to develop roots whilst younger plantlets have not. This does not matter. All plantlets can be used. Really small ones may not make it but there is a good chance you will have enough larger plantlets anyway, (especially the second time you come to do it).
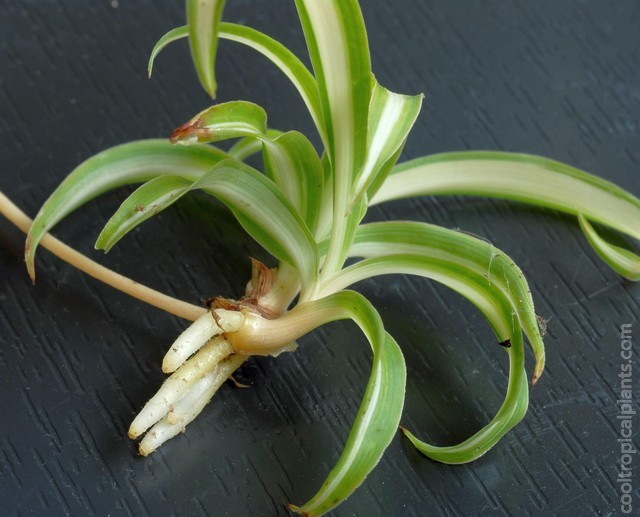
- If there are roots, remove the stork where it meets the plantlet. If no roots have developed yet, leave a small section of the stork (an inch/2.5 cm or so as it will make it easier to anchor the plant).
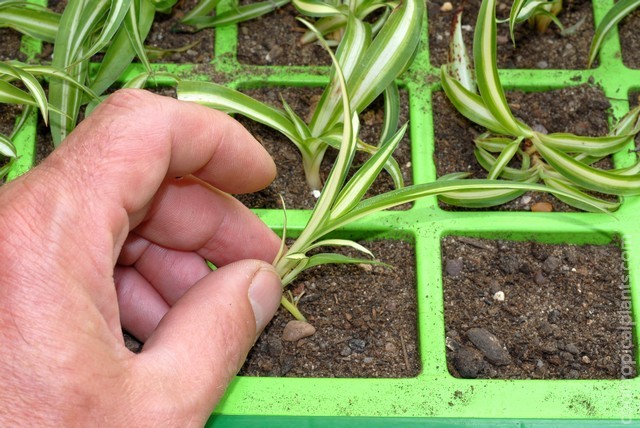
- For potting up the plantlets, seed cell trays are your best bet. A 24 cell tray is ideal as it allows the baby spider plants to grow to the right size for planting without the need to repot them further. A 50:50 Multi-purpose:loam based compost is an ideal mix for this process.
- Next simply push the baby spider plants into the cells.
- Place the cell tray into a gravel tray of the same size and water from below. Water again when they dry out. They can go a surprisingly long time without water especially in the mid-winter months in a greenhouse.
- If space permits keep the trays on the greenhouse bench, if space is at a premium they will grow perfectly well placed under the bench.
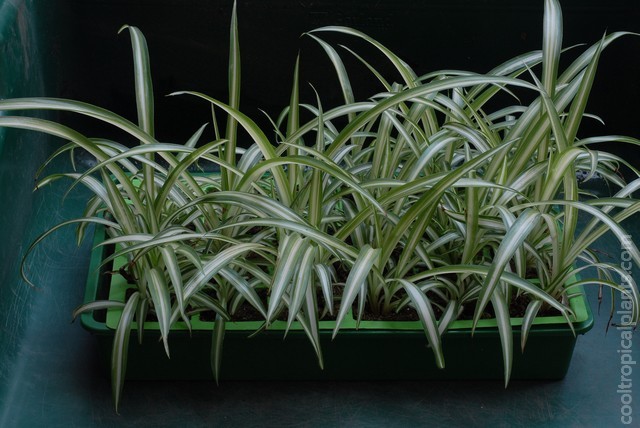
- By early spring your spider plants are ready for planting.
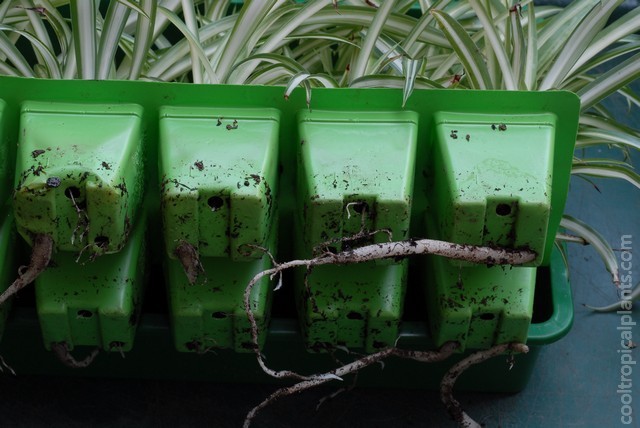
- The plants have formed strong roots.
Planting out your spider plants
As mentioned earlier spider plants can be planted in shady positions through to full sun. The only thing to consider is the spacing. If your plan is to use them for a shady location, keep the spacing tighter than you would for a full sun position as they will fill out their spaces at a slower rate in the shade. 3-4 inches (7-10 cm) for shade and 5-6 inches (12-15 cm) for sun. If your plants are nice and big to start with you can of course increase the spacing as you see fit.
- Before:
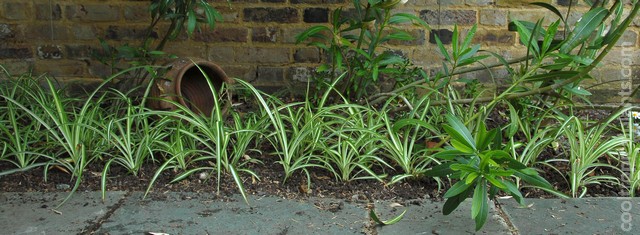
- After:
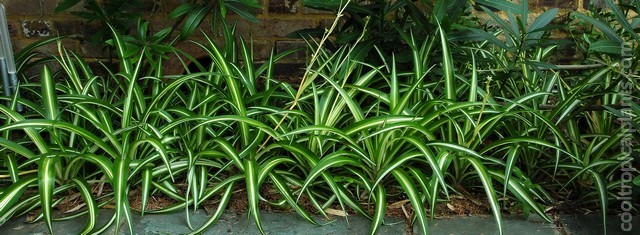
- These guys were planted in dry shade with perhaps 1 - 2 hours of full sun (should there be any) in the late afternoon. They recieved no dedicated watering but as they are in a bed bordering a patio, they probably recieved a bit of incidental watering if the patio was hosed down - in the case of a visit from a guest or elderly relative perhaps.
- Before:
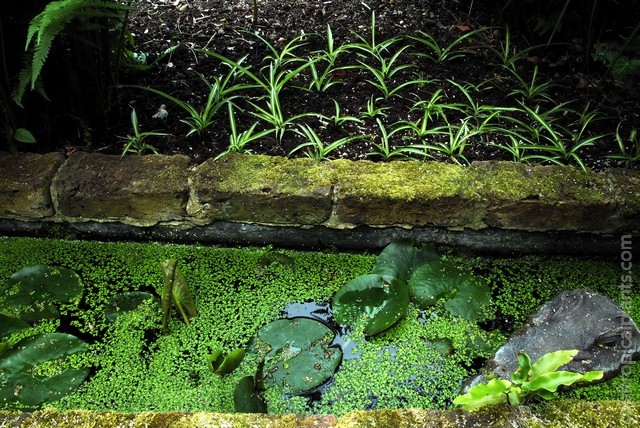
- After:
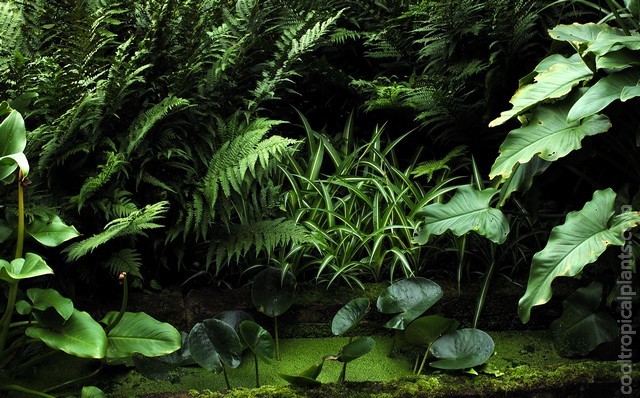
- These ones were in a richer soil and again were not watered much apart from at the intitial planting. They recieved sun off and on through the day but less and less as the surrounding plants grew. The plants to the left and right of the picture are Zantedeschia aethiopica 'Crowborough'. This is the wildlife pond incidentaly.
Preparing spider plants for winter
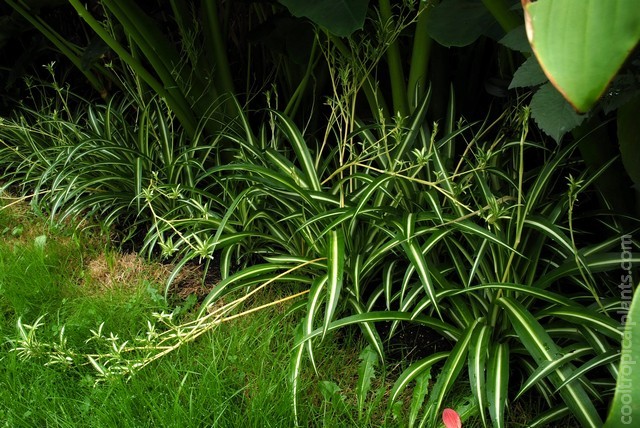
- As summer turns to autumn/fall your spider plants will have produced more plantlets than you can use. Here the plants are growing at the front of the border under Colocasia esculenta.
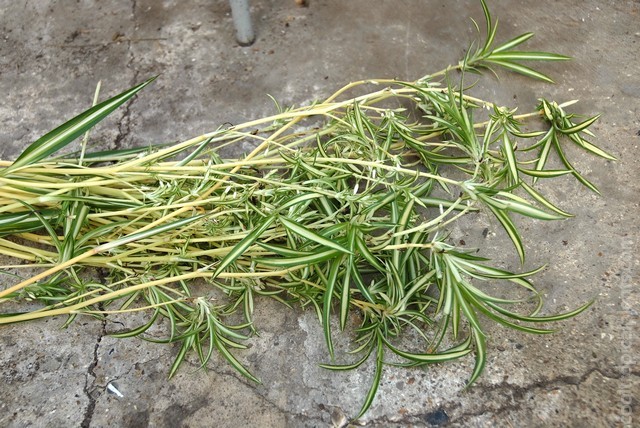
- Remove as many plantlets as you think you may need. There is no urgency to pot them up. They will stay alive for a considerable time (months) just lying in a tray awaiting potting up. Clearly though, the sooner they are potted up, the larger they will be come the spring.
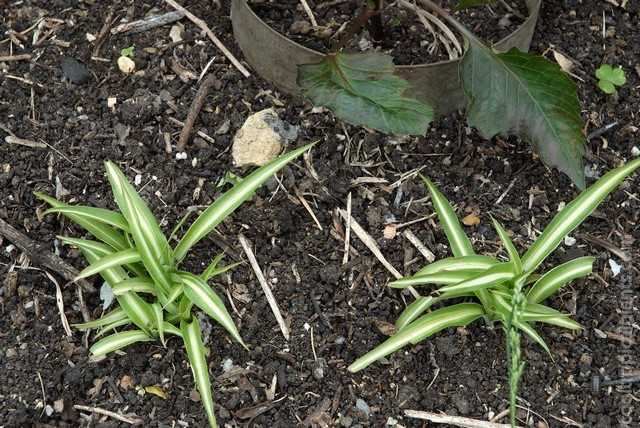
- Spider plants plants growing in the soil can be left to their own devices. With a good mulch the majority should survive any winter that a canna or dahlia left in the ground would also survive . The leaves will be turned to mush but so long as the roots do not freeze solid they will survive. Here we see spider plants emerging in late spring with an obliging Dahlia emerging too.
And finally...
Spider plant flowers
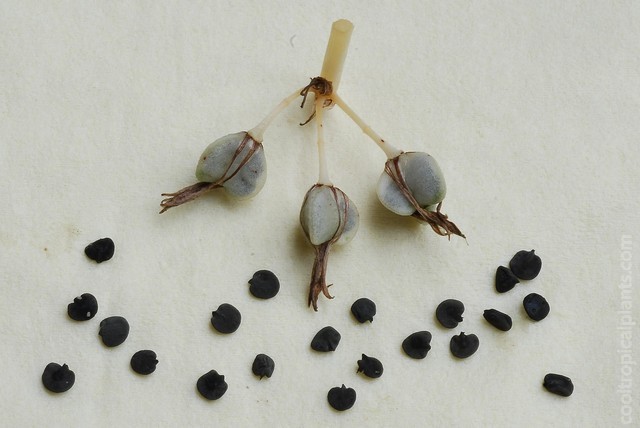
- Spider plants do produce flowers, which produce pods, which produce seeds...
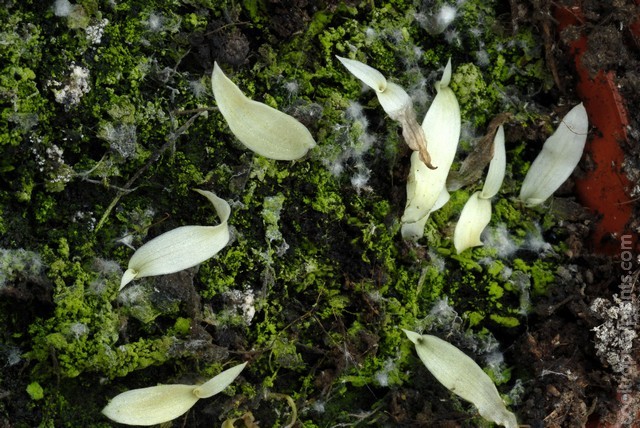
- Which produce these rather anemic specimens...
- One-nil to the plantlets.

