Growing Cyperus papyrus from seed
Growing Cyperus papyrus from seed is quite straight forward. Being an aquatic the whole fear of 'damping off' is also conveniently removed as you will be germinating the seeds in a wet environment. You can begin this process anytime after Valentines day (Northern hemisphere).
The basic equipment required to raise your seeds is:
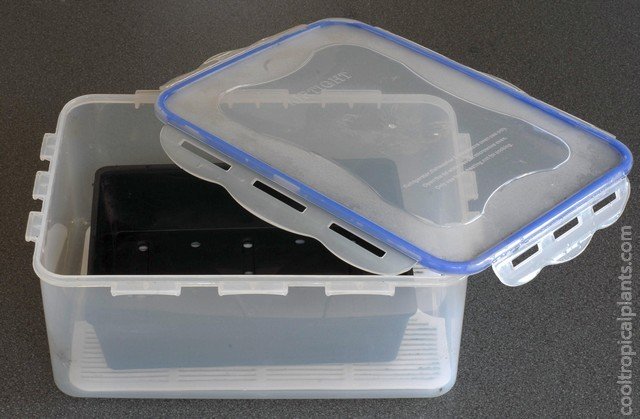
- A clear airtight container which will comfortably hold a half seed tray with 2-3 inches (5-8 cm) of headroom.
Sowing Papyrus From Seed
- Fill the seed tray with a suitable soil mixture: sieved multipurpose compost or peat with some added grit sand.
- Firm the compost into the tray by pressing down with the base of an equal sized seed tray.
- Sterilize the compost by gently pouring boiling water on to the compost until it is thoroughly soaked. If you have a small watering can with a rosette so much the better as it will cause less disturbance to the surface of the soil. The draining board of the sink is a good place to do this.
- Place the sterilised seed tray and its contents into the airtight container. Add a little bit of boiled water to the bottom of the container, just enough to cover the bottom so that the seed tray is in contact with the water - a few millimetres.
- Replace the lid and allow to cool.
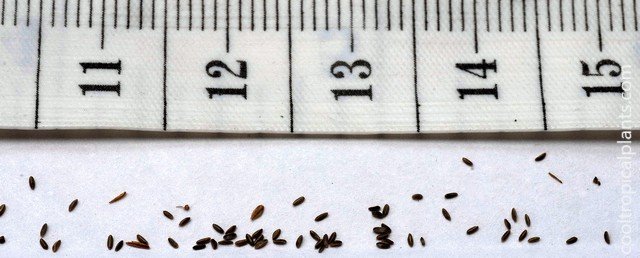
- When the container has cooled sprinkle your papyrus seeds (which are quite small but not dust like) evenly over the surface. Do not cover the seeds with compost. Replace the lid on the container.
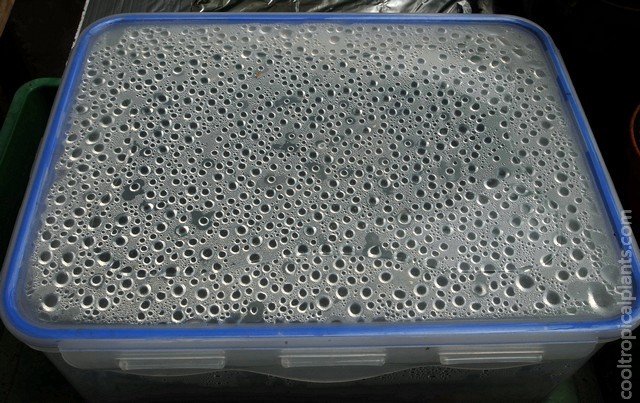
- Germination rates were highest and fastest when the container had been placed in full sun in the greenhouse. (Here we are talking about full sun in late
winter / early spring at a latitude of 51.5 deg North.) Instinct would suggest that the seeds
will be boiled alive in this situation but they are not phased at all, in fact they respond positively by germinating in 10 -14 days.
Earlier attempts at germinating papyrus from seed on an internal (West facing) window sill resulted in poor to no germination. When the container was subsequently moved into the greenhouse, germination followed swiftly. No simultaneous tests were carried out to compare window sill versus greenhouse germination rates but the greenhouse has been consitently reliable. If no greenhouse is available, a South facing window is recommended.
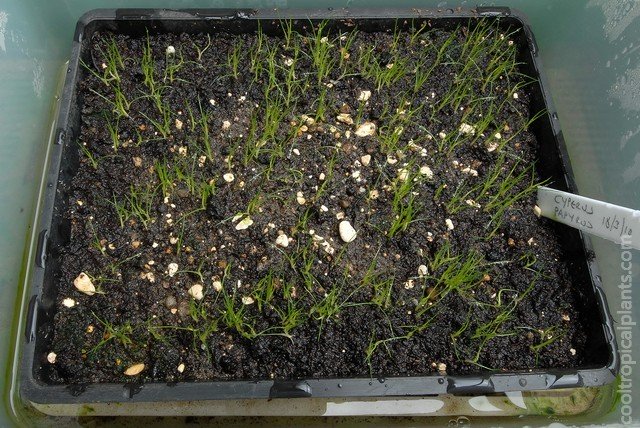
- One month since sowing Cyperus papyrus from seed.
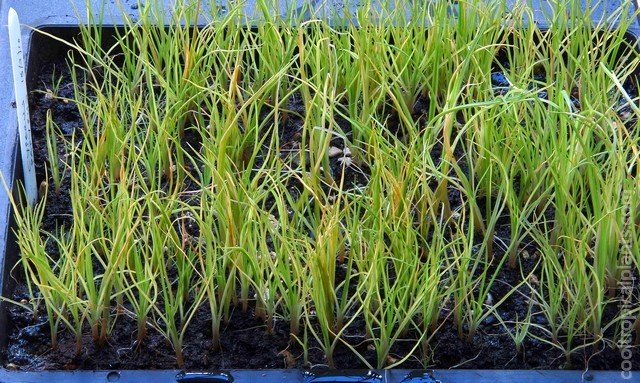
- Three months since sowing Cyperus papyrus from seed.
During these initial months the lid can be kept on the container and the seedlings are quite content. This is quite convenient as it allows you to be getting on with other things rather than finding out all the plants died on a particulary hot day you forgot to check on them. NB. Cyperus papyrus - seedlings or adults do not like to dry out completely - ever.
Once you see the leaves pushed up against the lid it is time to remove it. Crack the lid open and leave it sitting on the container for a day or two to allow the seedlings to aclimatize to the drier air.
Growing On The Papyrus Seedlings
Once the seedlings are large enough to handle there are a number of options.
- Do nothing. Leave the seedlings in the seed tray. Next spring they can be pricked out and potted up to gain a bit more stature before planting out. The advantage of this option is that the seedlings will take up less room in the greenhouse. The disadvantage is that they will not have grown as large as if they had been grown on in individual pots.
- Prick the seedlings out and grow them on in pots ready for next season. The pros and cons are switched here. You get bigger plants for next year but you need to dedicate more greenhouse real estate to them over the winter period.
- Prick them out, grow them on a bit and then plant them outside in pond baskets or swamp pots. This is the most likely option if it is the first time you have grown papyrus from seed and are understandably impatient to see them growing unconstrained.
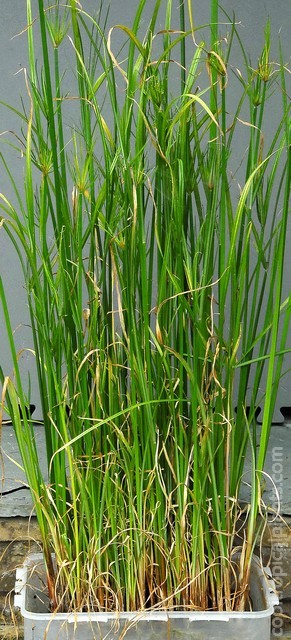
- The picture above is an example of option 1 in early Autumn. The seedlings are quite congested but will survive somewhat scruffily until next spring as they are.
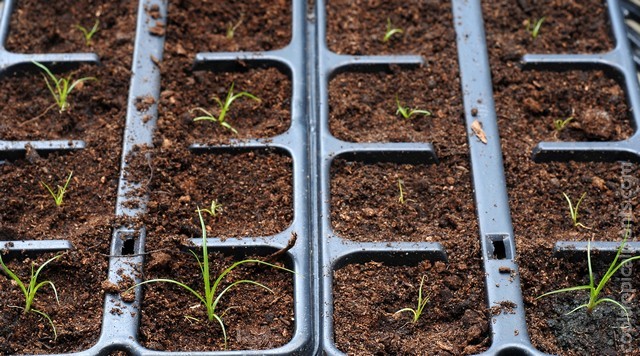
- Alternatively (option 2), expecially in the case of a limited number of seedlings, the baby papyrus can be pricked out into indivual cells and then further potted on into
indidual pots.
Remember to keep trays, cells or pots standing in trays or saucers of water at all times. Remember also to tip out the water from the trays on a regular basis (and then refill them), at least once a week. If you just keep topping the water up you will be creating an ideal mosquito habitat.
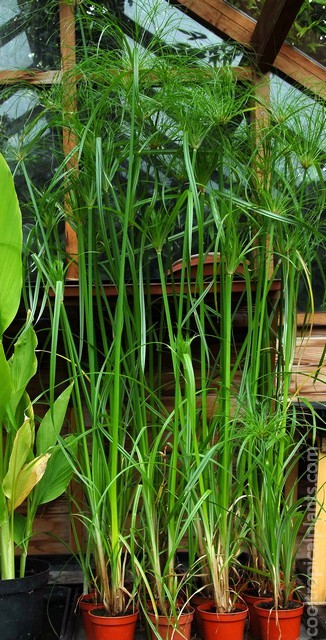
- The plants here, also in early Autumn, are much more robust as a result of having been given thier own space to develop. Again these plants were grown to be used the following season.
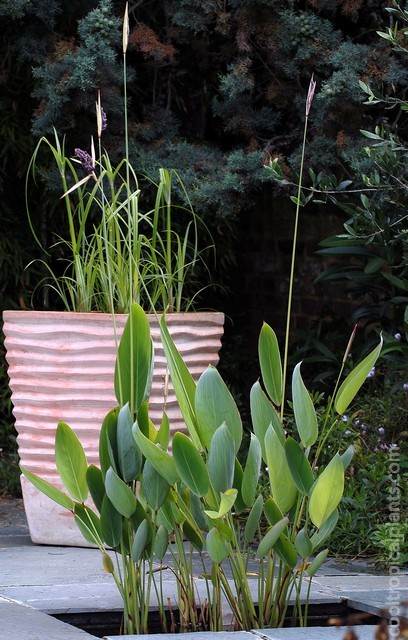
- Here we see (option 3) this seasons seedlings planted out in a swamp pot (to the rear). (It was the Thalia dealbatas turn to be in the pond this year.)
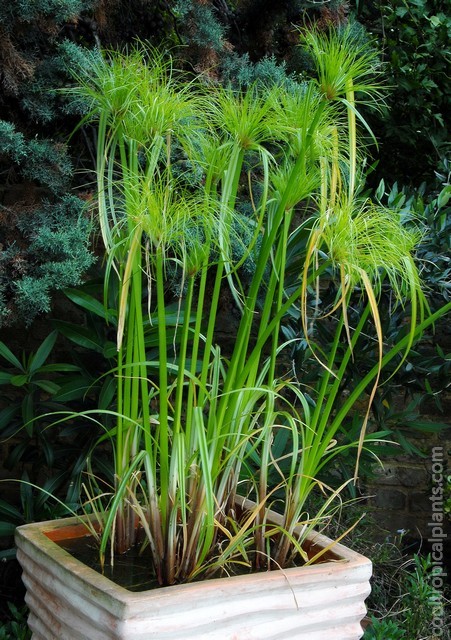
- Growth achieved by August from a spring sowing. Although nice enough to look at, two year old plants are generally taller and the umbels fatter. The name of the game is to grow plants for a minimum of two seasons to get the full impact of the plants.

