Colocasia esculenta
Colocasia esculenta is another little gem (not the lettuce) available from Asian food shops under the name of 'Arvi' or 'Arbi'.
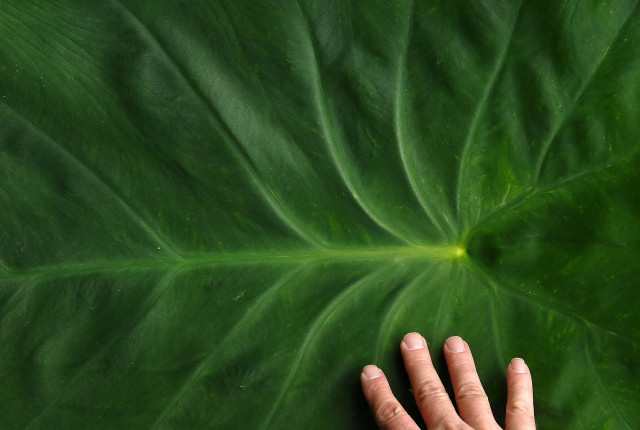
It is extremely inexpensive to buy when compared to the Cocoyam (Xanthosoma sagittifolium) or the Eddoe (Colocasia esculenta var. antiquorum). It is more widely available than the other two, but looks insignificant in comparison. It is easy to overlook these tubers when hunting down exotic vegetables with which to experiment.
A particular siren of the exotic vegetable world is the Taro - Colocasia esculenta var. esculenta. It is found in Caribbean vegetable shops. The size of the tubers seduce you into thinking you have a sleeping giant:
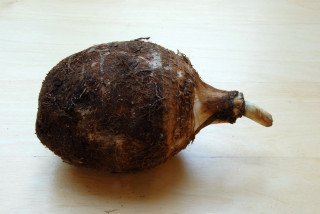
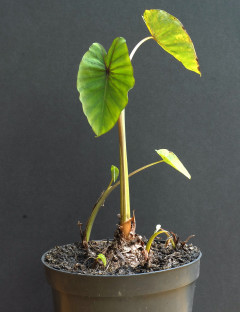
Unfortunately, growth in a temperate climate is pathetic. The picture to the right shows the growth made by the taro after an entire season in the greenhouse. The weight of the tubers makes the taro a costly purchase.
Incidentally when the taro is being sold to people who plan to eat them, typically the top of the tuber with the sprout is removed by the shopkeeper. These sections are easily rooted. Growth is equally unimpressive, but the experimentation is free as you should be given the top sections for nothing if you ask nicely. Simply place them on the surface of a pot of compost and keep warm (inside a freezer bag). Roots soon develop around the base of the section.
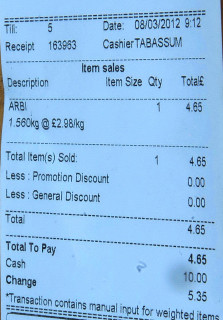
On the other hand here is a receipt for the following vegetables. 53 Arbi tubers for £4.65. When you allow for the odd shirker, this equates to somewhere in the region of 10p each. If you are unfamiliar with British currency, 10p at the time of writing would buy you about three sticks of gum (Wrigley's). (Not a lot is the point).
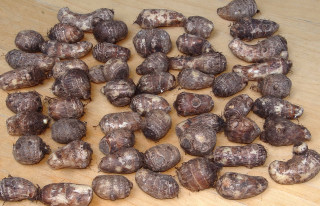
Getting Colocasia esculenta into growth.
Unlike the Cocoyam (Xanthosoma sagittifolium), the Arvi cannot simply be potted up, watered and placed on a heat mat and left to get on with it. If this method is followed for Colocasia esculenta there is a tendency for the tubers to rot. The plants need to be coaxed into growth.
Method 1
- Simply leave the tubers in the plastic bag in which you will have brought your Arvi home.
- Loosely fold over the open end and leave somewhere warm. (NB if you have bought loads it is a good idea to spread the tubers out in several bags as the humidity created by a large number of tubers can lead to mould and ultimately rot).
- Check the bag every few days.
- Eventually the tubers will begin to sprout.
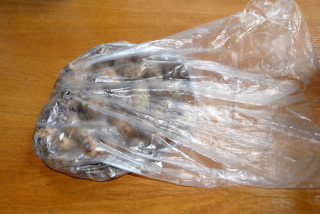
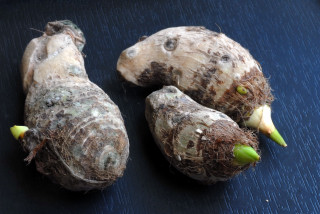
- As the tubers begin to sprout , remove them from the bag and pot them up individually. It is now safe to begin watering.
- Ideally they should then be placed in a propagator or on a heated mat to keep the momentum going.
Method 2
For the second method the Colocasia esculenta tubers are potted up individually before growth begins. Peat free multi-purpose works well for this method. Make sure the compost is dry. (To ensure that the compost is dry before use, buy the compost well in advance of when you plan to use it. Composts bought mid winter have invariably been sitting out in the rain and will be quite wet. Bring the bag of compost into the greenhouse/shed/kitchen and open up the top to speed up the drying).
You will also need some form of bottom heat such as a propagator or a heated propagation mat. A warm room may well suffice but lack of light indoors may be problematic as the plants grow.
- Choose flower pots that are slightly wider than your tubers are
long. 10 cm square pots are the ideal size for planting Arvi.
- Half fill the pots with compost and place the tubers horizontally with the growing tip slightly raised.
- Cover the tuber with compost and firm down.
- Next cover the pots with cling film. Each pot can be covered individually or cover the whole lot in a sheet. The cling film serves two purposes: Keeps the compost from drying out and more significantly if you are not using a covered propagator raises the minimum temperature of the compost.
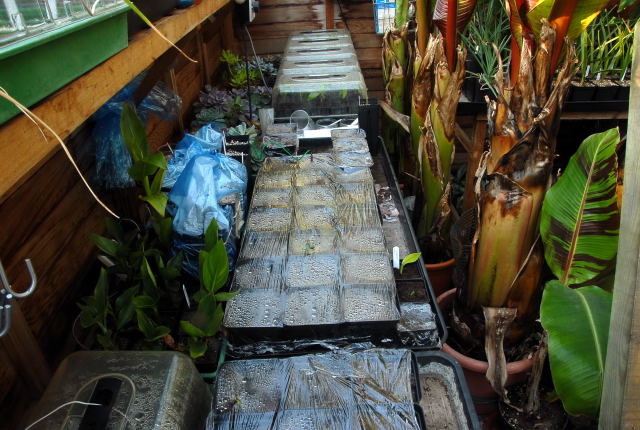
This picture shows Colocasia esculenta tubers being brought into growth using a heated propagation mat. The heat mats are laid on a thick polystyrene sheet with grow bag trays on top. The grow bag trays make the process of watering much simpler than if the pots were placed directly on the heat mat. The grow bag trays may reduce the efficiency of the heat mats slightly but heat being what it is, will take the easiest route, which is up through the grow bag tray.
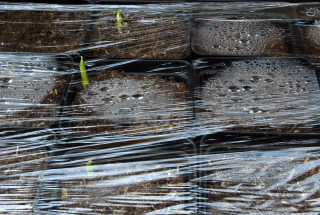
After a couple of weeks the tubers will begin to sprout. When the shoots touch the cling film, cut a slit to allow them to pass through.
At this point it is safe to begin watering. Gradually to begin with.
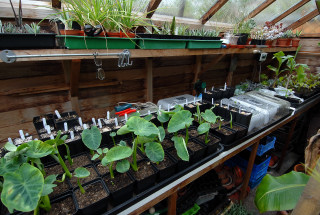
Three weeks later...
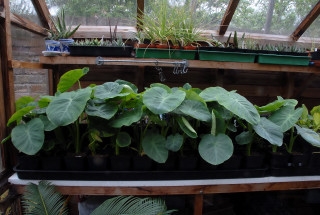
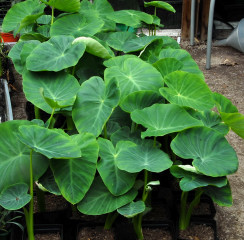
A further three weeks later and the plants are ready for the garden (May 8th). The more vigorous plants have already been moved off the heat mats (right hand picture).
It is a good idea to turn off the heat a few days before they go out into the garden to reduce the shock of a cooler soil.
Planting out Colocasia esculenta
To get the best out of your plants in the garden they require:
- A rich soil.
- Plenty of sun.
- Water. The leaves of Colocasia esculenta are designed to shed water. After even quite a heavy rain shower it is not uncommon for the soil at the base of the leaves to be bone dry. It is beneficial to the plants to get underneath the leaves of the plants with a hose and really soak the soil, especially in hot spells. If you hold back on the watering, the plants may fail to knit together resulting in a scruffier look.
- Space the plants by about 1 foot (30 cms.) when planting.
- Soon after planting it may look as if your plants have stopped growing or in fact dying. This is quite normal, the plants are busy putting down a few extra roots. In a couple of weeks things return to normal and they begin producing leaves once more.
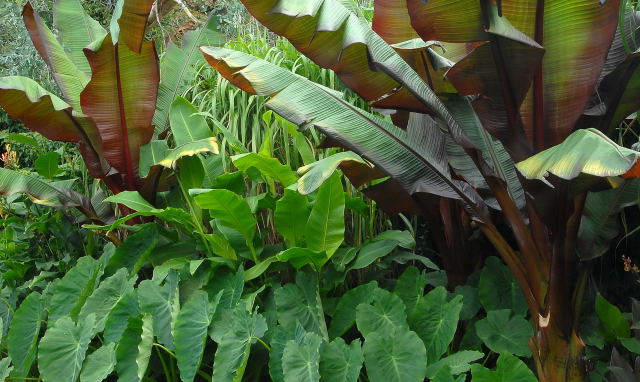
A group of Colocasia esculenta fringing a tropical border.
Direct sowing
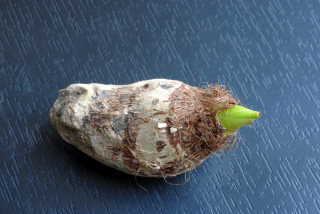
In an attempt to short circuit the growing cycle it was decided to see if the Arvi could be sown directly into the soil like potatoes.
A number of the tubers were started off indoors as out lined in method 1.
In mid may they were planted in a part of the garden where the soil had been pre-warmed using clear plastic sheeting.
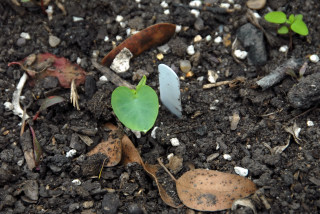
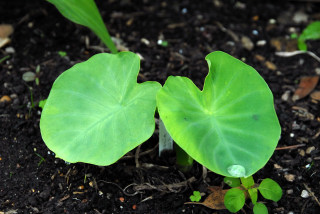
By the 27th June the first shoots began to show. By the 9th of July this is all they had to show for themselves.
Quite possibly this technique would be more successful where summers are consistently hot, but for the British climate the growth rates of the colocasia planted directly in the soil were too slow to have been any use in the grand scheme of things.
Overwintering Colocasia esculenta
If you do not have easy access to shops that sell Arvi it is possible to harvest your own tubers for next year.
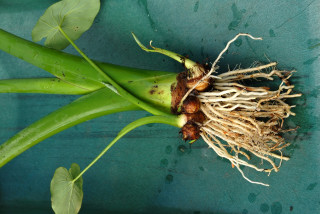
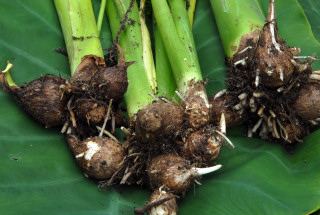
Dig up your plants. You can do this before or after the first frosts. Doing so before the frosts gives you a bit more stem to get hold of, making the whole process easier. Also pre-frost the soil is often quite dry and again it is easier to shake from the plant.
By trimming the roots it is clear to see the new tubers formed at the base of the stem. These can be simply snapped off by hand.
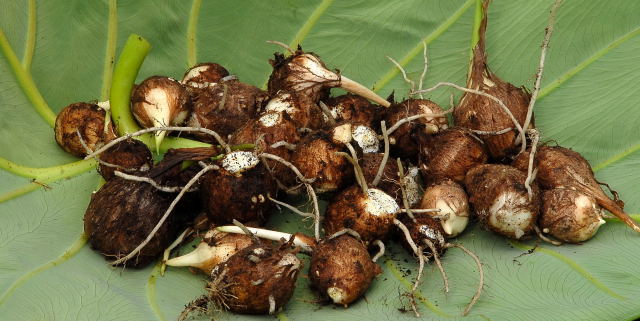
Spread the harvested Colocasia on a surface somewhere warm to dry them out. A number of them may go soft and will need to be discarded. The majority should stay firm and can be stored in bone dry compost until the spring. Keep them cool so they do not begin sprounting immediately.
Attempts to overwinter growing plants are usually abandoned. In the depths of winter with high humidity, low light and low temperatures in the greenhouse, things start going horribly wrong. Dead leaves droop and develop a grey mould which often spreads to the rest of the plant instilling panic in the grower.

